
HAPPY BIRTHDAY MAMA!
My mom has distinct tastes: she likes her wine red, her ice cream vanilla, she hates pancakes (WHAT) and she's getting into a habit of asking for birthday pie. I know, it sounds weird. Cake is celebratory. Cake is the life of the party. When you walk by a bakery window, it's cakes that dominate the displays, elaborately iced and dressed like five year old pageant contestants on TLC. But, when it's your birthday, you can cry if you want to (depending on how you feel about birthdays) and you have a divine right to fork whatever you want vigorously into your mouth WHILE crying. My mom wanted pie.Last year, I made her a beautiful coconut cream pie, a show stoppingly good conjure that I repeated this past weekend for company we were having over. It didn't survive a full day in our fridge before disappearing. So maybe, when it's good, pie is magic. For the actual birthday pie this year, I set my sights on a different model.
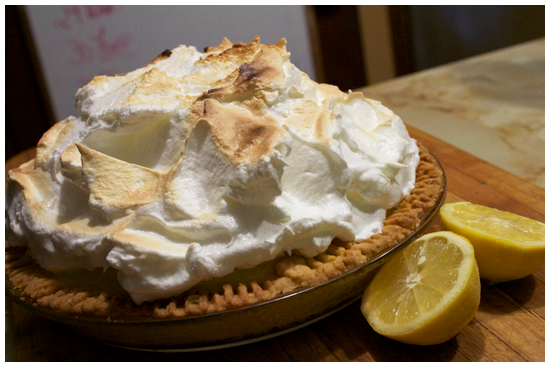
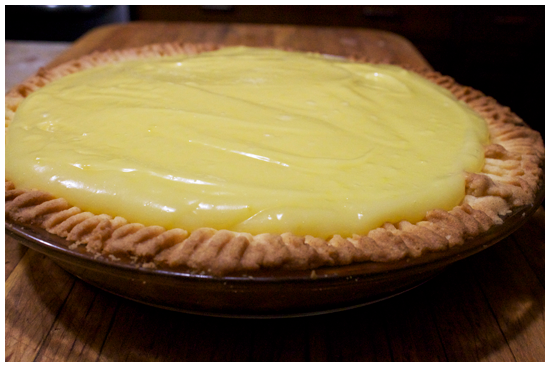
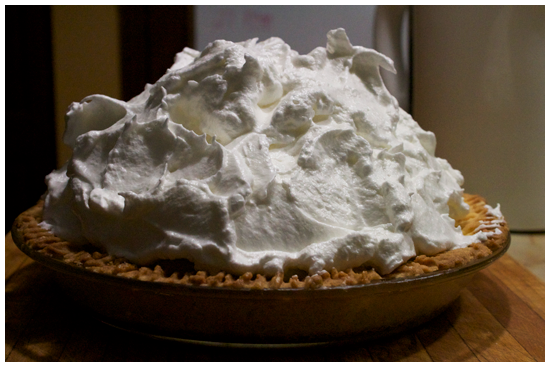
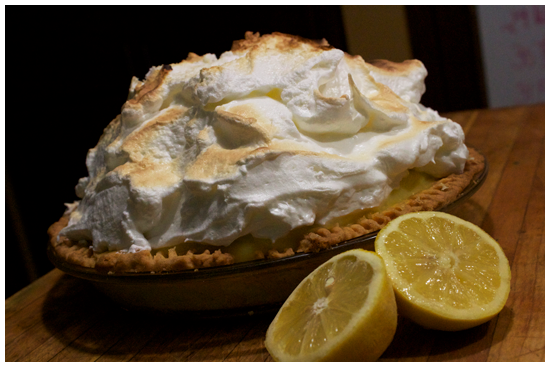
This lemon meringue pie is a sashay up from the simple diner version, and a whole league away from the neon goo model you get in a grocery store. It has a sweet shortbread crust. The filling is glossy smooth as any beauty queen's best answers in the interview portion, with the tang of real lemons to make it a memorable affair. It's topped off with a towering Swiss Meringue crown. Move over, Honey Boo Boo.
"Mile High" Lemon Meringue Pie
Makes 1 9-inch pieAdapted from Martha Stewart
Shortbread Crust
Ingredients1 cup unsalted butter
1/2 cup icing sugar
2 cups all purpose flour
1/4 tsp baking powder
1. Preheat oven to 350 degrees. Cream together butter and sugar until fluffy. Sift in flour and baking powder, blending together until dough is crumbly.
2. Using your fingers, press the shortbread into the pan, trying to keep the thickness as even as possible. Bake 15-20 minutes until golden brown. Set aside to cool.
Glossy Lemon Filling
Ingredients1/3 cup cornstarch
1/3 cup cake flour, sifted
1/4 tsp salt
1 1/4 cups sugar
2 cups water
5 large egg yolks, lightly beaten
2 tbsp lemon zest
1/2 cup fresh lemon juice
4 tbsp unsalted butter, cut into pieces
1. In a medium saucepan, sift together cornstarch, cake flour, salt and sugar. Slowly whisk in cold water, and put the mixture over medium heat. Whisking constantly, bring mixture to a boil for about 5 minutes until it gets thick.
2. Remove the pan from the heat. Bring the eggs to temperature by quickly whisking a small amount of the hot mixture into them. Then, whisk them back into the pan and cook over low heat for 4 minutes.
3. Take the pan off the heat once again, stir in the lemon zest and juice. Then, stir in the butter until incorporated. Put the mixture in a bowl to cool.
4. When the mixture is cool, spread it into the pie shell, and smooth it all out. Let it set in the fridge for at least one hour.
Swiss Meringue
Ingredients7 egg whites
3/4 cup sugar
1/4 tsp salt.
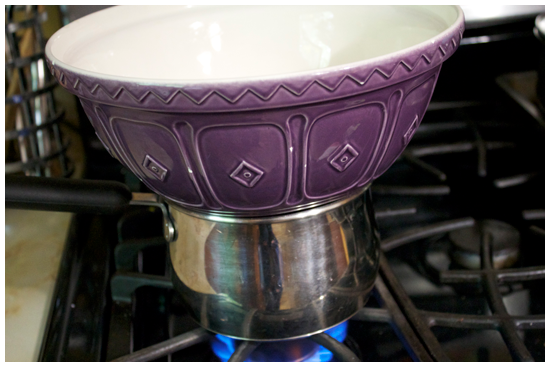
1. Put egg whites, sugar and salt in a heatproof bowl over a saucepan filled with water, bringing the water to a simmer. Whisk until the whites are warm and the sugar is dissolved.
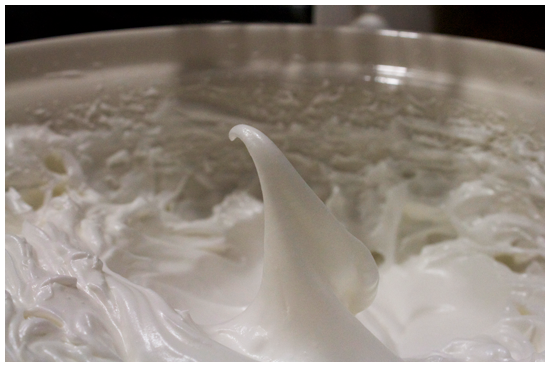
2. Remove the bowl from the heat and whip with an electric beater (or ultra muscle power) until stiff peaks form.
3. Smooth the meringue onto the pie in a giant mound, making sure to get all of the edges. Set under the broiler on high for two minutes. (Watch it. IT WILL BURN!) Serve at room temperature, and enjoy!
I Am Jack's Step By Step Photos
1. Blend together butter and sugar. Next, sift together flour and baking powder, and add to the butter mix, blending until crumbly. Press with even thickness into a 9 inch pie plate, crimping the edges with a fork. Bake for 15-20 minutes until golden brown. Set aside to cool.
2. Sift together cake flour, cornstarch, sugar and salt into a medium saucepan. Slowly stream and whisk in two cups of cold water over medium heat. Bring to a boil, stirring constantly for 5 minutes, until mixture thickens.

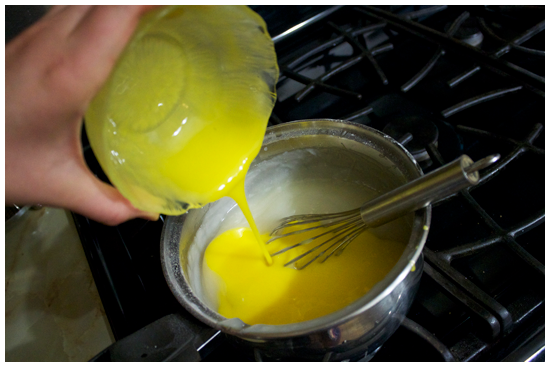
3. Remove the pan from heat. Add a small amount of the hot mixture to the egg yolks, whisking them quickly and constantly to bring them to temperature without cooking them. Add the yolks back into the mixture-- whisk them in and cook over low heat for 5 minutes.
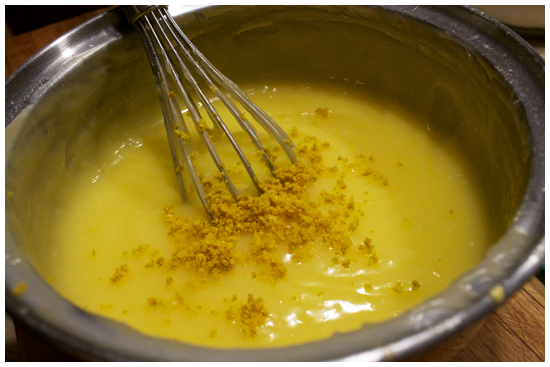
4. Remove the pan from heat again. Stir in lemon juice and lemon zest. Then, stir in the butter to incorporate and melt.
5. Set the mixture aside in a large bowl to cool.
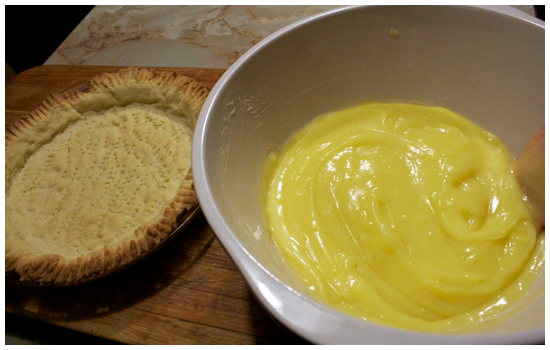
You can do a lot of things while you're waiting for this to happen. As usual, I went on a run, I think I did some dishes, I maybe practiced my pageant walk, but you can't prove that happened. When it's FINALLY cooled, smooth the filling into the also cooled pie crust. Pop in the fridge for at least an hour. I covered mine with plastic wrap, at the risk of scarring the poor filling for life. (It turned out okay in the end!)
7. Remove the bowl from heat. Using an electric beater, whip the whites up, up, up until they hold stiff peaks.
8. Spread and mound that glorious meringue into a mountain on top of the pie filling. ALL OF IT. Try and make it look pretty if you want to, I'm no Martha Stewart, but I can dream. This is the kind of pie that just looks pretty without too much fussing.
9. Stick this baby under your broiler on high for 2 minutes, watching it constantly until has the colour of lightly toasted marshmallow. I found this to be tough! So if you make a mistake and it gets a little burned on the top, just scrape it off and try again.
I admit this step also had me squatting in front of the open oven, rocking the heatproof mittens trying to hold the pie underneath the broiler in all of the places I thought it needed more colour. I don't know if that's dedication or madness. I DO know that it made a pretty pie.
Slice with care and serve at room temperature. Enjoy!
No comments:
Post a Comment